
Growing guide
How To Grow Salvia Or Sage
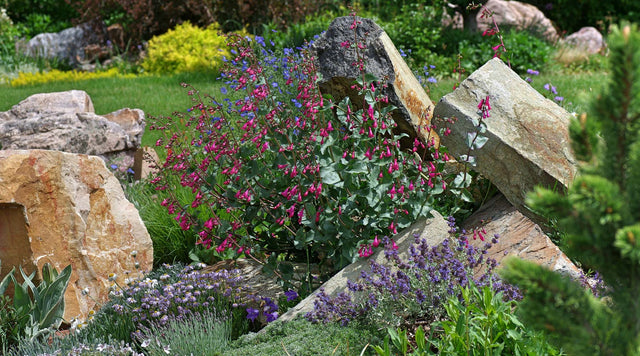
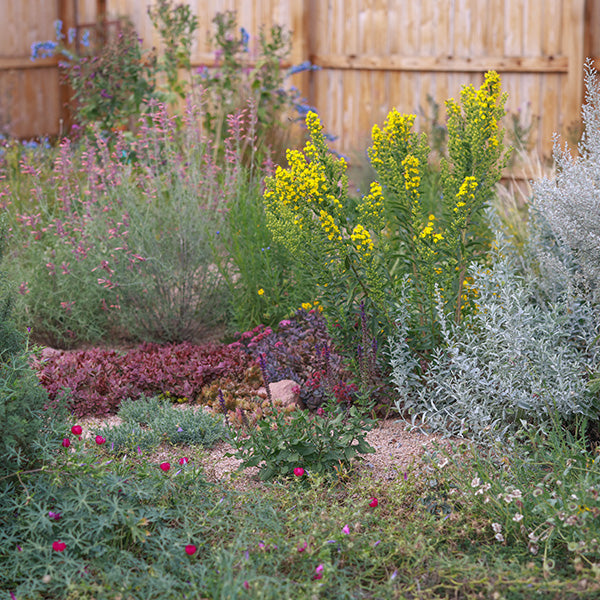
by David Salman, High Country Gardens Founder The genus Salvia, or Sage, is a huge group of ornamental annuals and perennials that are found growing in the wild across the...
Read More